Wild Pigment Foraging
“Soils that are ground into pigments for paint can let me fix “place” onto the works.” Sandy Webster
Adriana Jaroslavsky

In this website you will find the tools to forage, process, and create pigments directly from the earth, guided by Adriana Jaroslavsky. We’ll explore both dry sifting and wet washing methods, working step by step to transform soil, rock, and clay into usable artist pigments. This process is slow, meditative, and rooted in respect for nature. It’s not about taking as much as possible, but about engaging with the materials mindfully — carrying home small fragments of a place, and letting them become part of your artistic practice.
By the end, you’ll have not only own pigments, but also the knowledge and confidence to continue this practice independently. You’ll carry a deeper sense of connection to the natural world, and a new way of seeing colour: as something alive, local, and deeply personal.
FORAGE SUSTAINABLY
+Only pick up from where there is enough
+Respect nature and its elements
EQUIPMENT NEEDED
+ Comfy shoes and clothed, resistant to different sorts of weather
+ Sealable bags ready to store your findings
+ Pencil and paper to document the location and source of the foraged pieces
+ A cloth bag to carry all the small sealable bags with the found elements
+ Scissors in case you might need them
+ Spoon, can be helpful to collect the soil
+ Tape is always handy
+ Gloves, are helpful but not essential. It can feel very good to do this exercise bear handed.
+ Hammer is helpful to have in case we need to break a piece of harden rock.
BEFORE YOU START
+ Cover the work table with thick paper, watercol our paper does the work.
+ Lay and arrange all of your findings on the paper that is covering the table and remember to properly catalogue and name it.
FOR DRY SIFTING METHOD YOU WILL NEED:
+ Collected soil, rocks and earth
+ Dust mask
+ A heavy duty mortar and pestle. (do not use your kitchen one)
+ A very thin sieve (the ones they use in laboratories work really well)
+ Thick paper to work under
+ It is better if you have a glass surface to place under the sieve
+ A metal or glass funnel
+ Small jars or pots to store your processed pigment
+ Paper and pencil


RESOURCES
+ @studioslowlane - www.slowlanestudio.co.uk
+ @plants_and_colour - plantsandcolour.co.uk
+ @londonpigment - londonpigment.com
+ @jennydean298 - www.jennydean.co.uk
+ @patternmakers - sarahburnspatterns.com
+ Wild Pigment Project @tilkeelkins
+ @polben.art - www.pollybennett.com
+ @nataliestopka - www.nataliestopka.com/work-shops
+ @colorscodol - www.colorscodol.com

What You Can Do With This Process
+ Identify, forage, and catalogue raw materials in a sustainable way.
+ Transform earth into pigments using dry and wet processing techniques.
+ Build your own archive of colours tied to places you’ve explored.
+ Use the pigments to create paints, inks, or mixed-media artworks.
+ Develop a more intimate relationship with the land through making.
STEP BY STEP PREPARATION
+ Put on your dust mask.
+ Spread thick paper across your work surface.
Break Down the Material
+ Place the collected soil or rock in the mortar.
+ Use the pestle (or hammer if needed) to crush it into fine particles.
Sift the Pigment
+ Pour the crushed material into the sieve.
+ Shake or brush gently so that only the finest dust passes through onto the glass surface below.
+ Discard larger fragments or grind them again.
Collect the Pigment
+ Using the funnel, carefully transfer the sifted pigment into small jars or pots.
+ Label each container with the source, location, and date.
Store & Catalogue
Keep pigments sealed in a dry, cool place.
Maintain your notes and records, this builds your personal pigment archive.
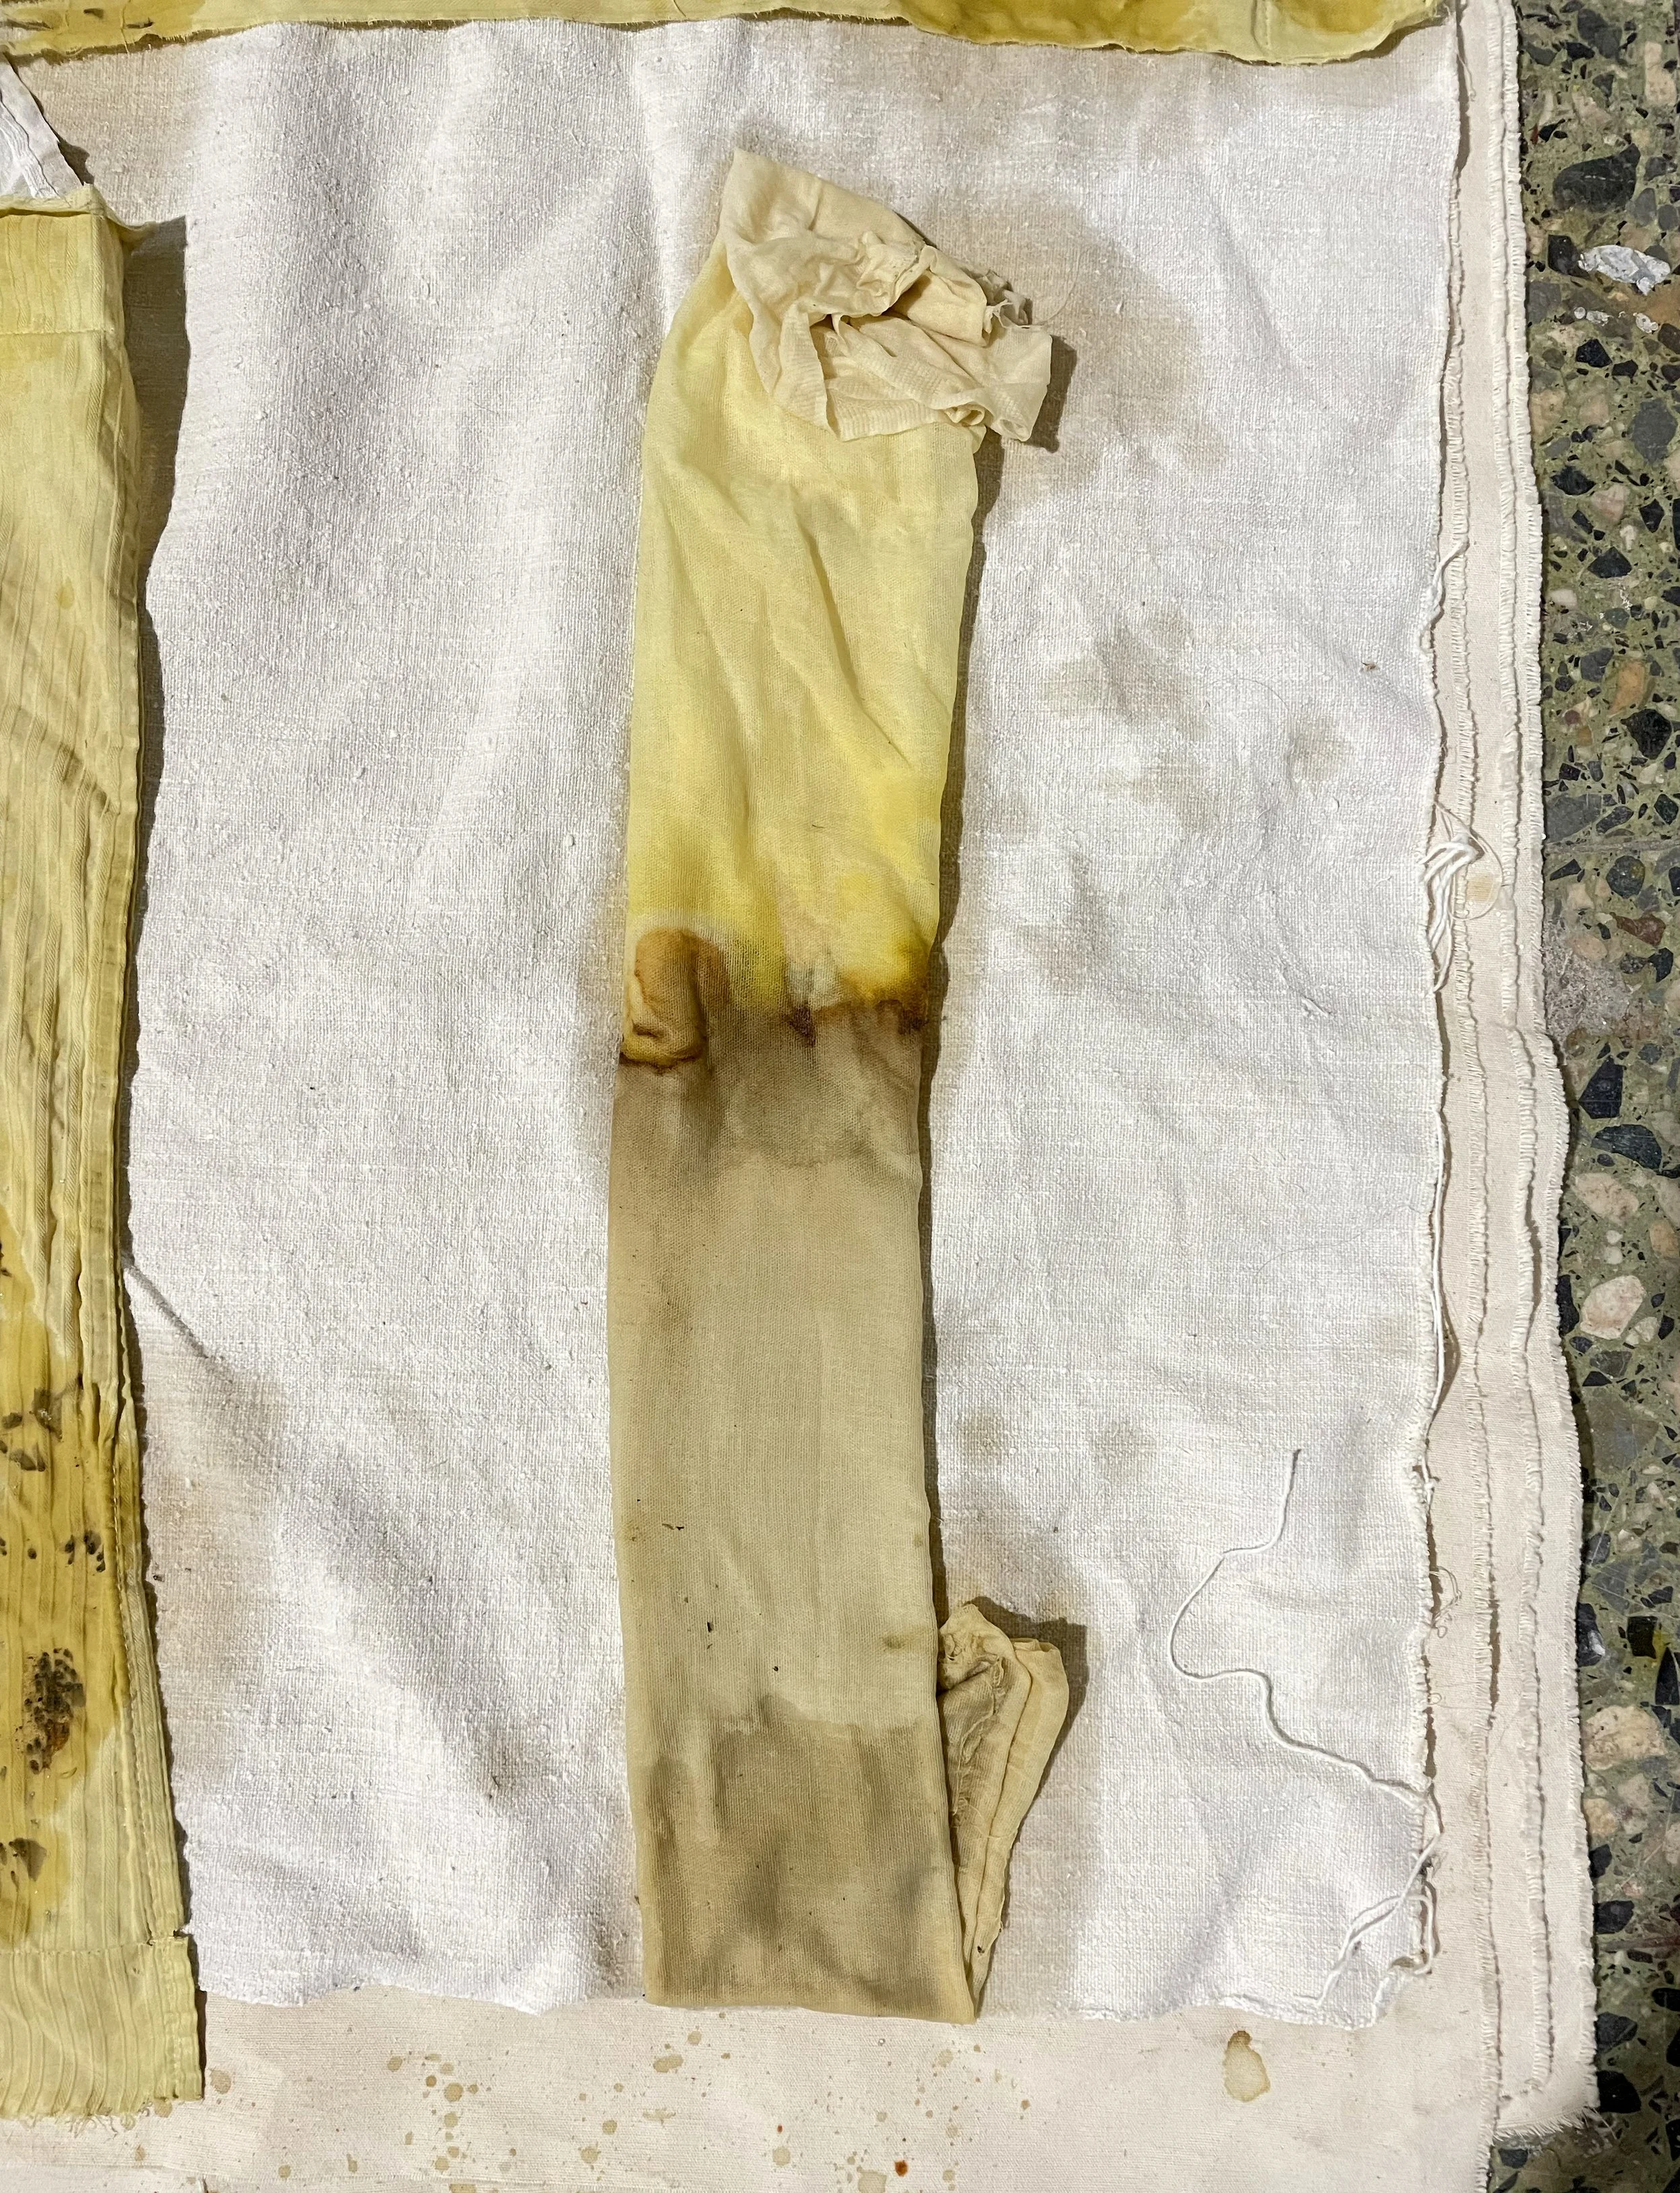
WET PROCESSING METHOD (Washing Pigments)
You will need:
+ Collected soil, rocks, or earth
+ Two or more buckets or large containers
+ Clean water (ideally distilled if available)
+ Stirring stick or spoon
+ Old cloth, coffee filters, or fine mesh for filtering
+ Funnel (glass or metal preferred)
+ Small jars or pots for storing the pigment
+ Thick paper or glass sheets for drying
+ Paper and pencil for notes
+ Dust mask (optional, during the initial crushing)
+ Mortar and pestle or hammer (to break down larger rocks/clay before washing)
STEP BY STEP PREPARATION
Break down the collected soil or rocks with a mortar and pestle or hammer.
The smaller the particles, the more efficient the washing process will be.
Mixing with Water
Place your material in a bucket or large container.
Cover it with clean water and stir thoroughly.
Let the mixture sit for a short time (30 seconds–2 minutes).
Separation
Heavier sand and stone particles will sink to the bottom.
The lighter pigment particles and clays will remain suspended in the water.
Carefully pour the water (containing the suspended pigment) into a second container, leaving behind the heavier sediment.
Filtering
Pass the poured water through a fine mesh, coffee filter, or cloth to capture the pigment.
Repeat the mixing, settling, and filtering process several times until the water runs clearer and the pigment is well separated.
Drying the Pigment
Spread the collected pigment paste thinly onto thick paper, glass sheets, or ceramic plates.
Allow it to dry completely (this may take several days depending on climate and thickness).
Once dry, scrape the pigment off the surface.
Storing
Grind the dried pigment again with a mortar and pestle to achieve a fine consistency.
Transfer into small, airtight jars or pots.
Label with source, location, and date.
This page was co-created with Adriana Jaroslavsky